Recently, I used the process photos of my resin and acrylic series, to make a video presentation of the making process. You can see this video here. I used i-Movie to do this, which is a video-editing program for Mac computers.
Today, I would like to share with you a few simple steps to make a similar video, using still photos. As an example, I will use some pictures of my recent trip to London, to create an inspiration gallery.
First, open i-Movie and click "File"/"New project":
Choose the theme that you prefer and type the name of your project. I chose the scrapbook theme and named my video "Inspiration gallery":
Click the photo icon to choose photos from your computer. Drag the chosen photos to the top left area:
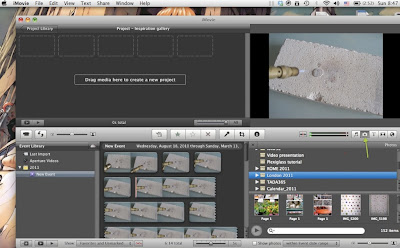
Click where the red arrow is pointing at to play your video and see how it looks so far:
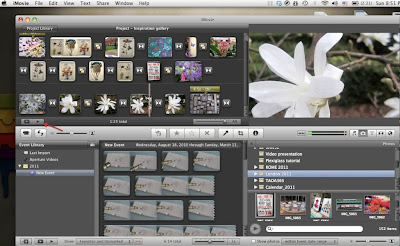
You can make adjustments by changing the order of the pictures. Just click on each one and move it to its new location:
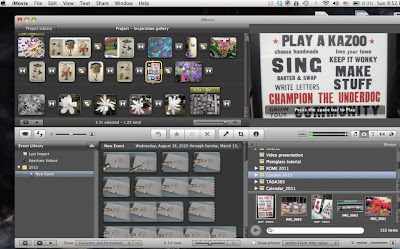
Click where the red arrow is pointing at to choose a transition effect, to be placed between each photo. When choosing the scrapbook theme at the beginning of the project, transition effects where automatically assigned.
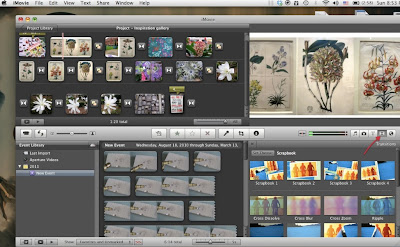
You can change them by choosing another transition effect and drag it between the photos:
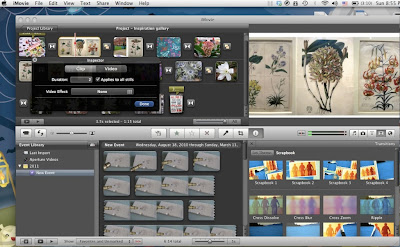
To add titles, comments and text of any kind, click the "T" icon and choose among a variety of options:
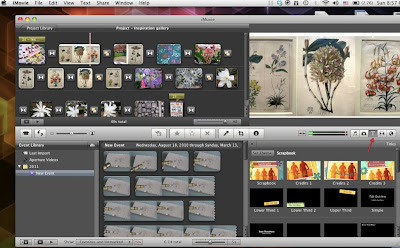
Drag the chosen text style on top of the clip/photo and write your text on the right. If you drag it on top of the photo, the text will appear when the photo is displayed. If you drag it in front of the photo, it will appear before the photo.

If you want the text to be displayed longer than the duration of the clip, just drag it, as shown below:
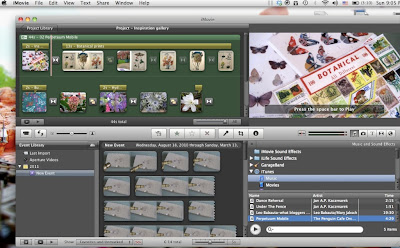
When you're happy with the result, click "Share"/"Export as" and your video will be ready in a few minutes!
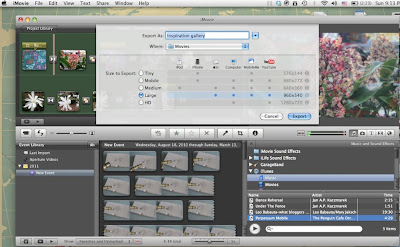
Here's how it looks after I have exported it:
This is just a basic demonstration but you can make endless variations depending on the themes, effects, music, text that you'll choose.
As mentioned before, this video is made using still photos. But you can also import your own videos from your camera or your computer and follow the same procedure, after the video has been imported.
PS: I tried to enlarge the screenshots so that you can see them better, but apparently Blogger won't let me do this without blurring the images. If someone knows how I can fix this, please tell me. The screenshots look clean and sharp on my computer but they're distorted now that I changed the pixels.


THANKS!!!!Off to download i-Movie :)
ReplyDeleteYay!! This is great!! Can't wait to try it!!
ReplyDeleteI'm glad that you like it! I had fun making this, though Blogger wasn't very co-operative this time!
ReplyDelete